TrueForm Remodeling
Inside a TrueForm Home
Peel a Texas house apart, one layer at a time, and see what can be behind your walls.

Opening the house…
Drag to turn it. Slide to take it apart. Tap a layer to read about it. Use the arrow keys to turn the model, plus and minus to zoom, and the list of layers to read about each one.
-
Layer 1 of 16
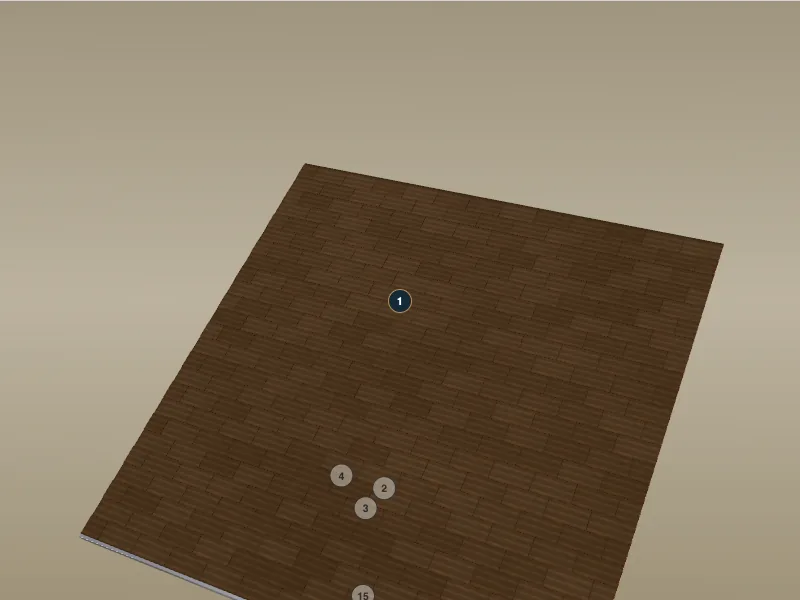
Roof covering and deck
- Shingles shed the rain, and the roof deck under them is what they are fastened to.
- A foil-faced layer on the underside of the deck is called a radiant barrier; it is aimed at hot, sunny climates like ours.
Ask your builder
- Ask whether your roof deck gets a radiant barrier, and what goes under the shingles.
Trade detail
- A radiant barrier is most useful in hot, sunny climates, where it helps keep the attic and the home cooler.
- Ask for the product name and how it is installed.
Named parts (4)
- Roof deck panels Large wood panels fixed across the roof framing. The roof covering and the other roof layers are installed over them.
- Shingle rows Rows of asphalt shingle tabs. Each row is laid over the top of the row below it, and the joints are staggered from row to row.
- Roof underlayment A sheet layer on the deck, under the shingles. Each higher course overlaps the one below it.
- Drip edge A metal strip along the roof edge that turns water away from the deck and the board under it. In this model the underlayment runs over the drip edge at the eave.
-
Layer 2 of 16
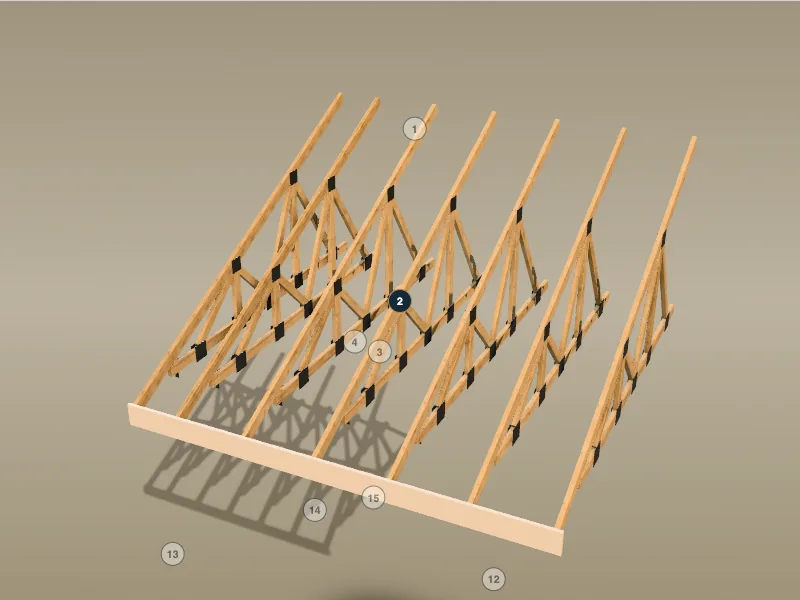
Roof trusses
- This model shows a trussed roof: triangles of lumber that carry the roof across the house.
- Roof framing plans vary from house to house.
Ask your builder
- Ask what roof framing is planned for your house and to see its layout drawing.
Trade detail
- Ask who designs the roof framing and who signs off on any change to it after it is delivered.
Named parts (5)
- Truss top chord The sloping board at the top of each truss. The roof deck is fastened to it.
- Truss bottom chord The flat board along the bottom of each truss. It rests on the top plate and carries the ceiling.
- Truss web The diagonal and upright boards between the top and bottom chords.
- Truss plate A steel plate pressed into both faces of a joint. Its punched teeth bite into the boards.
- Hurricane tie A bent steel strap with nail holes. It is fixed to the face of a truss and folded onto the top plate under it.
-
Layer 3 of 16
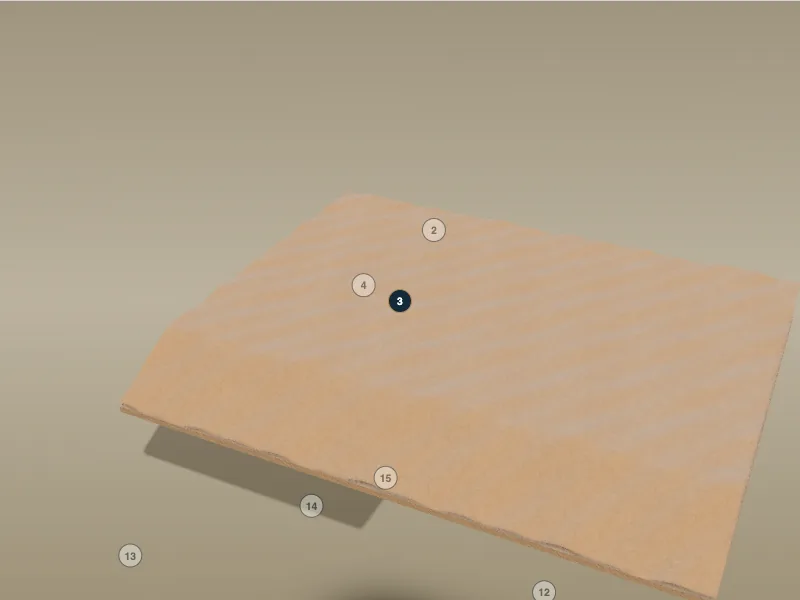
Attic insulation
- Insulation slows the heat that flows between outside and inside; that ability is its R-value, and a bigger number resists more.
- Loose-fill insulation is blown in, so it can fill odd-shaped spaces.
Ask your builder
- Ask what R-value goes over your ceilings, and who checks that it is complete and level.
Trade detail
- ENERGY STAR's rater checklist asks for insulation installed to a graded standard (Grade I) and for a complete air barrier at the ceiling.
- That checklist has a "pre-rock" column, the stage before drywall goes up.
-
Layer 4 of 16
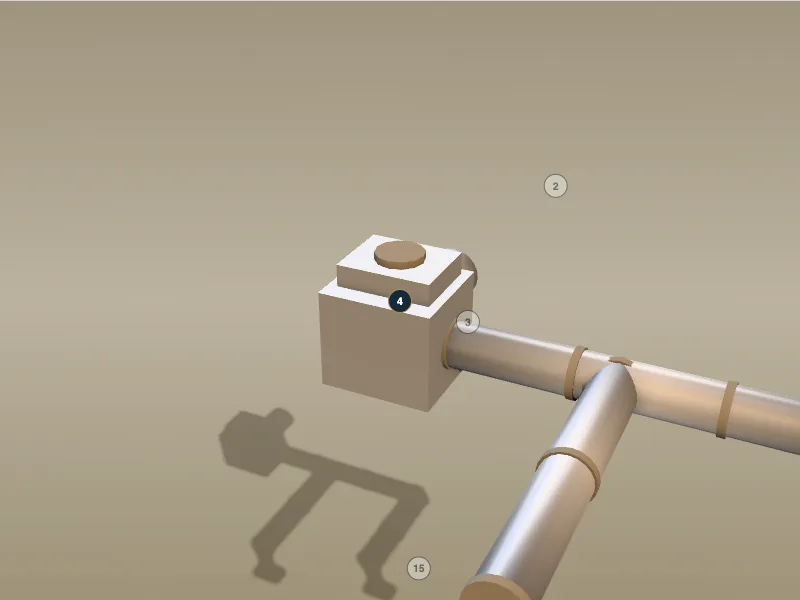
Air handler and ducts
- In this model the air handler and the ducts sit in the attic.
- Leaky ducts waste cooled air, so the system runs longer to keep you comfortable.
Ask your builder
- Ask where the air handler and ducts will be, how the ducts are sealed, and whether the leakage is tested.
Trade detail
- Ask what mastic or tape seals the duct joints, and whether it is listed for use on ducts rather than ordinary cloth-backed tape.
- ENERGY STAR's checklist asks that ducts in unconditioned space be insulated to at least R-6 and that a rater measures the leakage.
-
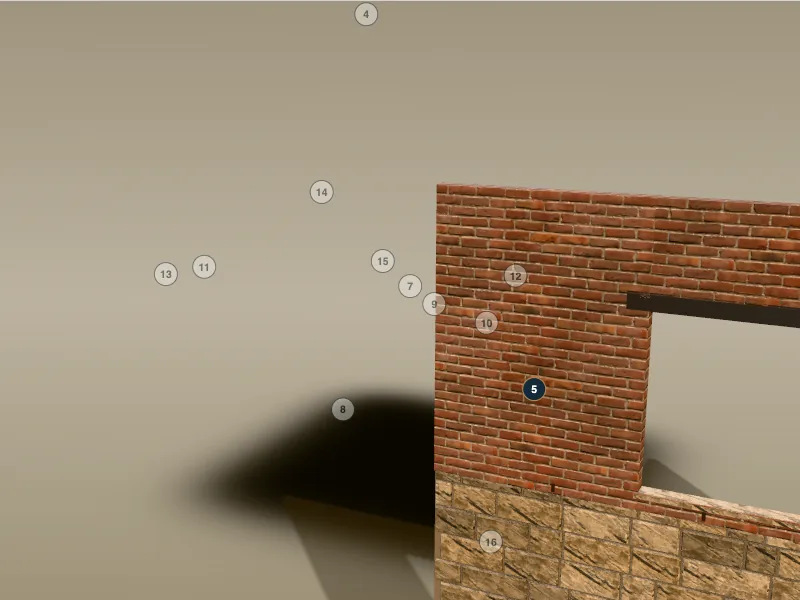
Layer 5 of 16
Brick and stone
- When brick or stone is used as a veneer, it is a skin fixed to the wall behind it.
- Water can get behind a veneer, so the wall is built as a drainage system that sends it back out through flashing and weep holes.
Ask your builder
- Ask how the veneer is anchored to the wall, and where the flashing and weep holes will be.
Trade detail
- The Texas edition of the 2021 IRC, section R703.8, lists anchored masonry veneer on wood-frame backing, and its lintels, anchorage, flashing and weep holes in the sections that follow; your city enforces its own adopted edition, so ask.
Named parts (4)
- Steel lintel A steel angle across the top of the window opening. It carries the brick above the window.
- Stone veneer Stone blocks laid in courses over the lower part of the wall, with a mortar bed behind them.
- Brick veneer A single layer of brick over the framed wall, held away from it by an air space.
- Weep hole A small open joint in the first course of brick above the flashing. In this model they show as dark slots.
-
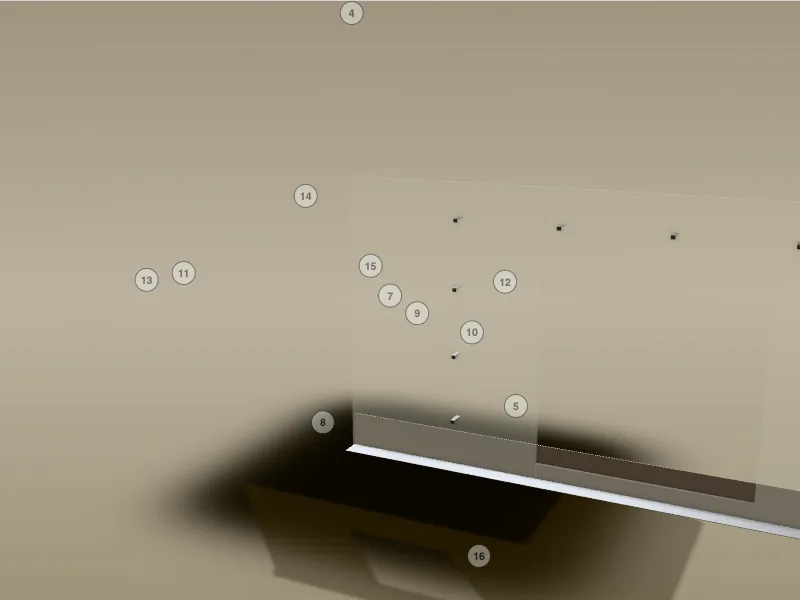
Layer 6 of 16
Air space and weep holes
- In this model the air space behind the brick is a narrow gap; flashing at the bottom and small openings called weep holes give water a way out.
- Ties or other anchors across the gap hold the veneer to the wall.
Ask your builder
- Ask to see the weep holes once the brick is done: are they open, or full of mortar?
Trade detail
- The Texas edition of the 2021 IRC, section R703.8.6, lists weep holes at most 33 inches apart and at least 3/16 inch in diameter, immediately above the flashing; your city enforces its own adopted edition, so ask.
- Ask how the air space is kept clear of mortar while the brick goes up.
Named parts (2)
- Brick tie A small steel strip with a bent end. It crosses the air space and holds the brick to the framed wall.
- Base flashing A sheet-metal pan at the foot of the brick, turned up at the back. It catches water running down the air space.
-
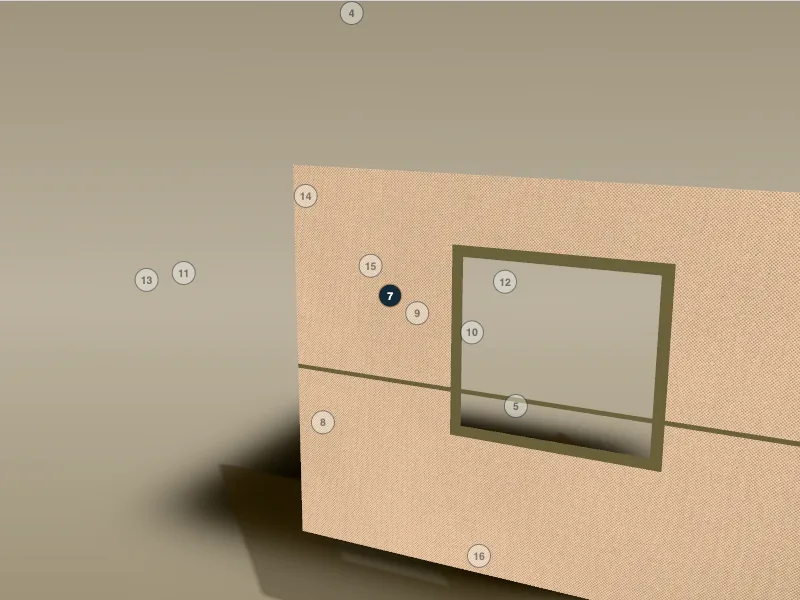
Layer 7 of 16
Weather barrier and flashing
- A water-resistive barrier, often called house wrap, goes behind the siding or veneer, with flashing that directs water out, not in.
- If house wrap is left bare above a window or its seams are not taped, ask who checks it before the brick covers it.
Ask your builder
- Ask when the weather barrier goes on, and who inspects it before the brick covers it.
Trade detail
- The Texas edition of the 2021 IRC, section R703.2, asks for at least one layer of water-resistive barrier, continuous to the top of the wall, with horizontal laps in which the upper layer goes over the lower layer by at least 2 inches; your city enforces its own adopted edition, so ask.
- Ask which phase inspections your builder allows, and when, so a problem is found while it is easiest to correct.
Named parts (2)
- House wrap A sheet weather barrier over the sheathing. Here the upper course overlaps the lower one, so water runs down the outside of every lap.
- Window flashing Tape and a pan around the window opening. The sill pan goes on first, the side tape laps over the pan, and the head tape laps over the sides.
-
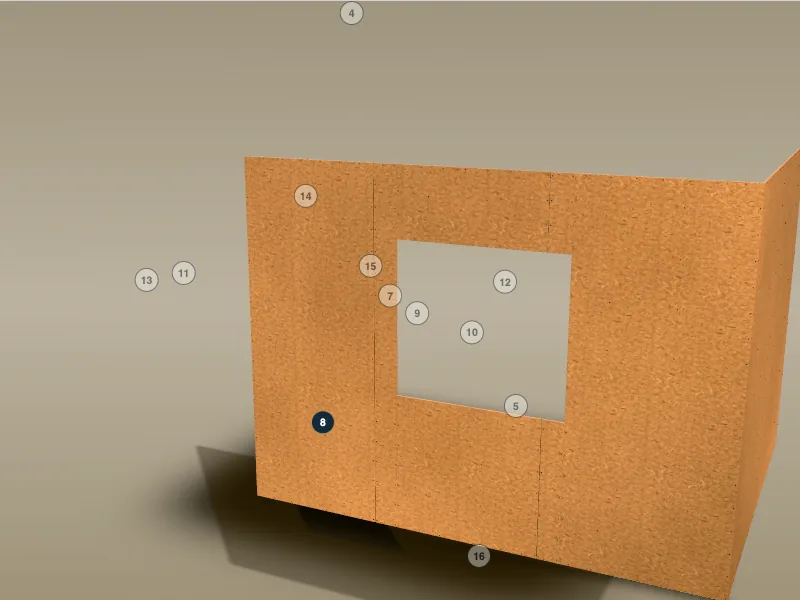
Layer 8 of 16
Wall sheathing
- Sheathing is the layer of panels fixed over the outside of the studs.
- The Texas edition of the 2021 IRC, Table R602.3(1), lists wall sheathing nails at 6 inches along panel edges and 12 inches in the field, with a gap left at panel edges; your city enforces its own adopted edition, so ask.
Ask your builder
- Ask whether the sheathing is fastened as the plans specify, since bracing depends on the braced-wall design and its installation details.
Trade detail
- Ask whether foam sheathing is planned, and how its joints are taped.
Named parts (1)
- Wall sheathing panel A large wood panel fixed over the outside of the studs. Gaps are left at the edges, and the nail heads are lined up along the edges and over the studs.
-
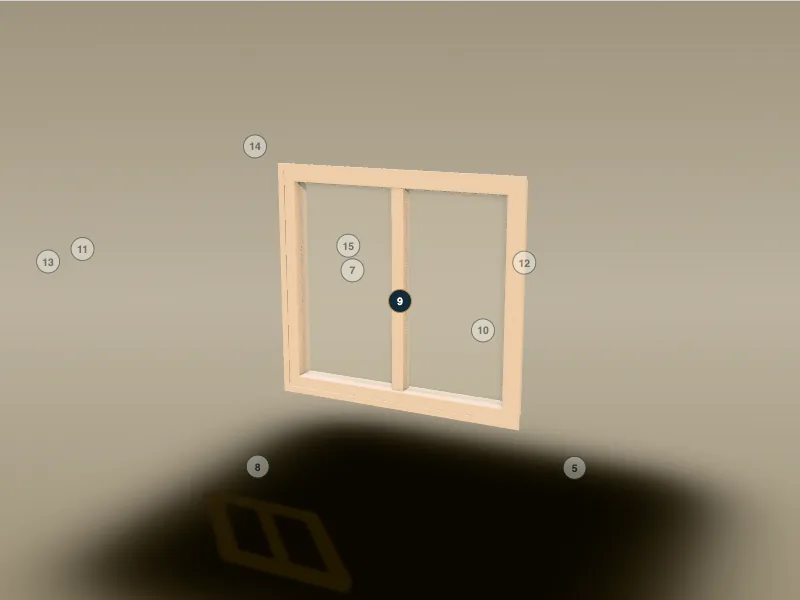
Layer 9 of 16
Window
- The window sits in an opening framed for it, with its own header above.
- ENERGY STAR's rater checklist asks that the rough opening around windows and exterior doors be sealed.
- The Texas edition of the 2021 IRC, section R703.4.1, asks for pan flashing at the sill unless the window maker gives other details, and flashing or protection at the head and sides; your city enforces its own adopted edition, so ask.
Ask your builder
- Ask how window openings are flashed, and for the window's energy ratings.
Trade detail
- Ask whether the window is set in a pan at the sill and flashed before the siding goes on.
- Ask for the window ratings alongside the insulation and the heating and cooling equipment.
-
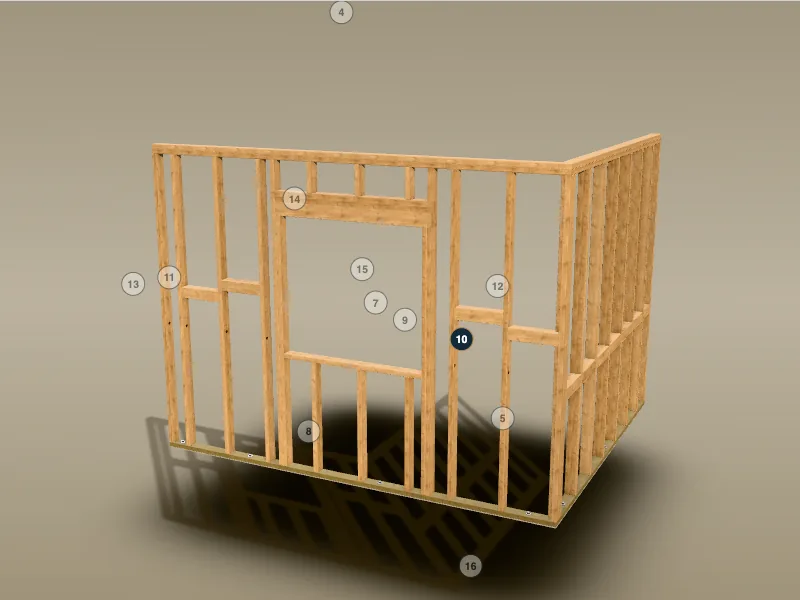
Layer 10 of 16
Framing
- This model shows studs, plates and a header above the window; framing details vary.
- The Texas edition of the 2021 IRC, Table R602.3(5), lists two-by-four bearing studs at up to 24 inches apart where they carry only a roof and ceiling, and up to 16 inches where they also carry one floor; your city enforces its own adopted edition, so ask.
Ask your builder
- Ask for the framing plan, and for an independent look at the frame before anything covers it.
Trade detail
- Ask whether inspections are allowed at the foundation, framing and pre-drywall stages.
- The Texas edition of the 2021 IRC, section R302.11, lists fireblocking in concealed stud walls at horizontal intervals of at most 10 feet, and Table R602.7(1) lists header spans by header size, ground snow load and building width; your city enforces its own adopted edition, so ask.
- If backing for towel bars or grab bars is planned, ask where it is and photograph it before the walls are covered.
Named parts (11)
- King stud A full-height stud standing beside a window opening, on each side.
- Jack stud A shorter stud under each end of the header, next to the king stud.
- Cripple studs Short studs above the header and below the window sill.
- Rough sill The board across the bottom of the window opening. The window sits on it.
- Bottom plate The board laid flat on the foundation. The studs stand on it.
- Double top plate Two boards laid flat across the tops of the studs. The upper board overlaps the lower one at the corner, and the joints are kept apart.
- Anchor bolt A steel bolt set in the foundation. It rises through the bottom plate and is tightened with a washer and a nut.
- Wall studs Upright boards that make the frame of the wall.
- Window header In this model the header is built from two boards and a spacer and set across the top of the opening; header construction varies.
- Blocking Short boards set flat between the studs. Here they sit at fixture height on the bathroom wall and in a staggered row on the kitchen wall.
- Sill gasket A thin strip of foam between the bottom plate and the concrete it sits on.
-
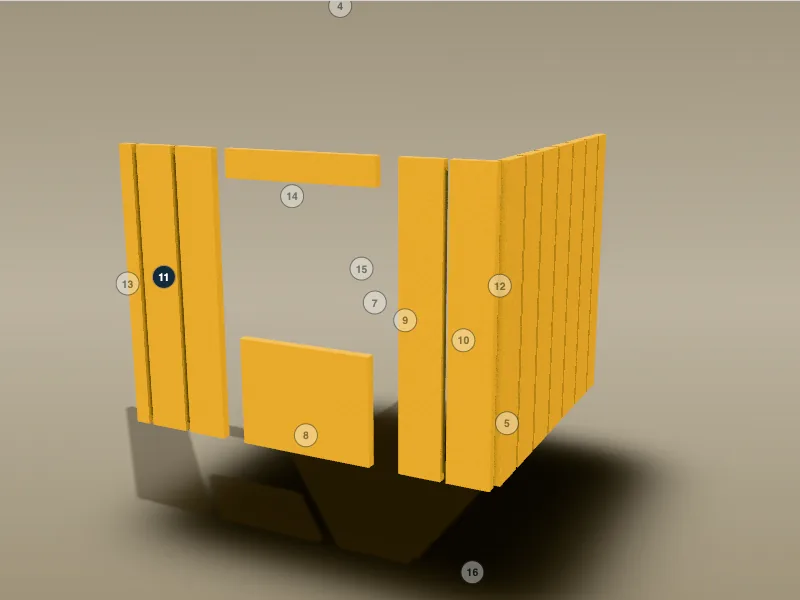
Layer 11 of 16
Wall insulation
- Blanket insulation comes in batts and rolls sized to fit between studs.
- Loose-fill and spray foam suit spaces where batts are hard to fit.
Ask your builder
- Ask what type and R-value goes in the walls, and who looks again after the electrician and plumber have finished.
Trade detail
- ENERGY STAR's checklist asks for a complete air barrier at the exterior face of wall insulation and for insulation installed to Grade I.
-
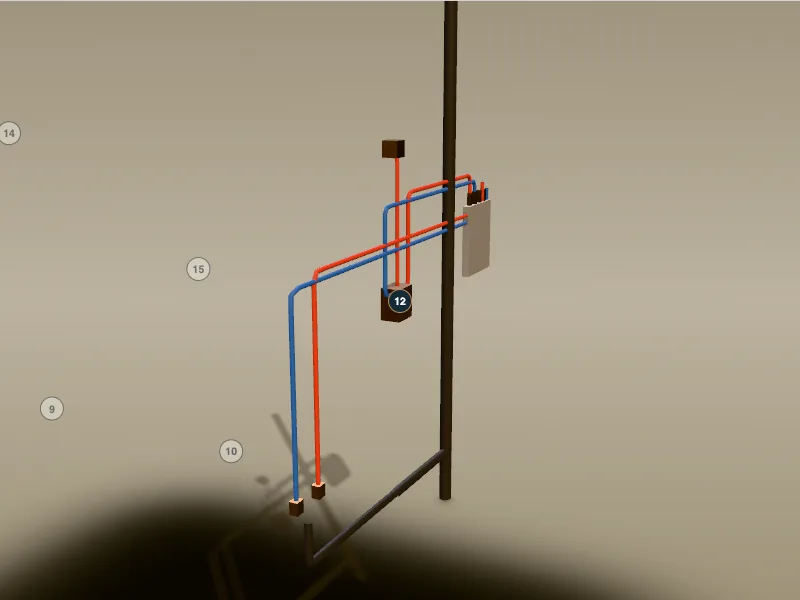
Layer 12 of 16
Plumbing
- Supply lines carry hot and cold water to the shower and sink; a wider drain pipe carries waste away.
- This model draws flexible plastic supply tubes in a home-run layout, red for hot and blue for cold.
Ask your builder
- Ask for photos of every wall after the plumbing is in and before the drywall goes up, with a tape measure in the frame.
Trade detail
- In a home-run layout each fixture is fed from a central manifold, so a single fixture can be shut off there; the alternative is trunk-and-branch.
- Keep the photos taken before drywall; they record where the plumbing is and may help with later troubleshooting.
-
Layer 13 of 16
Wiring
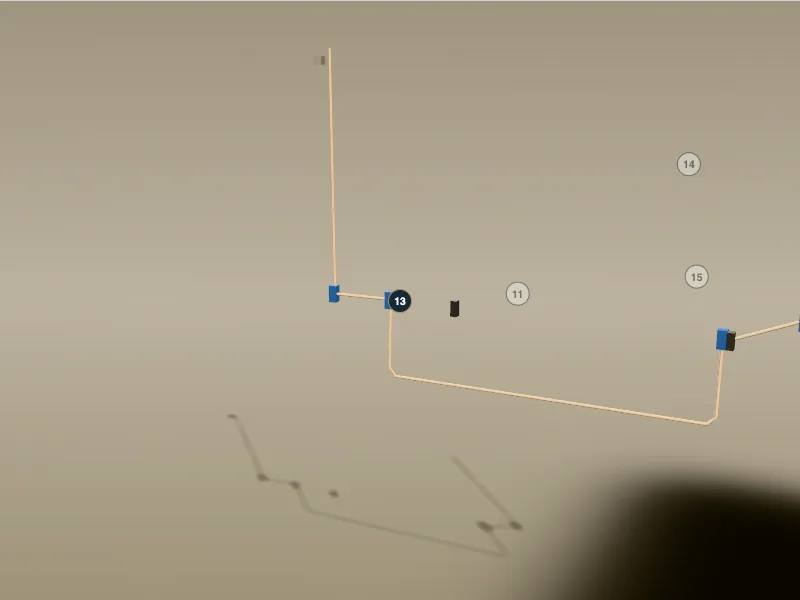
- Cables run through holes drilled in the studs to the boxes for outlets and switches.
- Where a cable passes close to the edge of a stud, a steel plate can protect it from nails and screws.
Ask your builder
- Ask for photos of the wiring before the walls close, and a note of which breaker feeds which room.
Trade detail
- Ask how cables that pass close to the edge of a stud are protected, and which edition of the electrical code your city enforces.
Named parts (2)
- Steel nail plate A steel plate fixed over a stud where a cable passes through close to the edge of the board.
- Electrical box A plastic or metal box fixed to the side of a stud. Outlets and switches are mounted in it.
-
Layer 14 of 16
Drywall
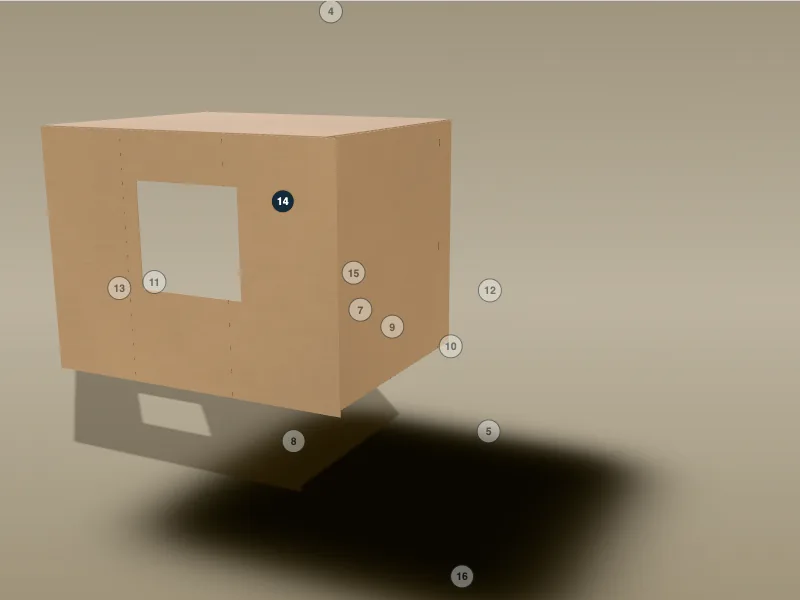
- Gypsum panels are hung on the frame, taped and smoothed.
- Once drywall is up, much of the work behind it is no longer visible.
Ask your builder
- Ask for a walk-through before the drywall goes on, and keep your own photos.
Trade detail
- ENERGY STAR's checklist asks that drywall be sealed to the top plate where a wall meets an unconditioned attic, and that walls between an attached garage and living space be sealed.
-
Layer 15 of 16
Paint, tile and trim
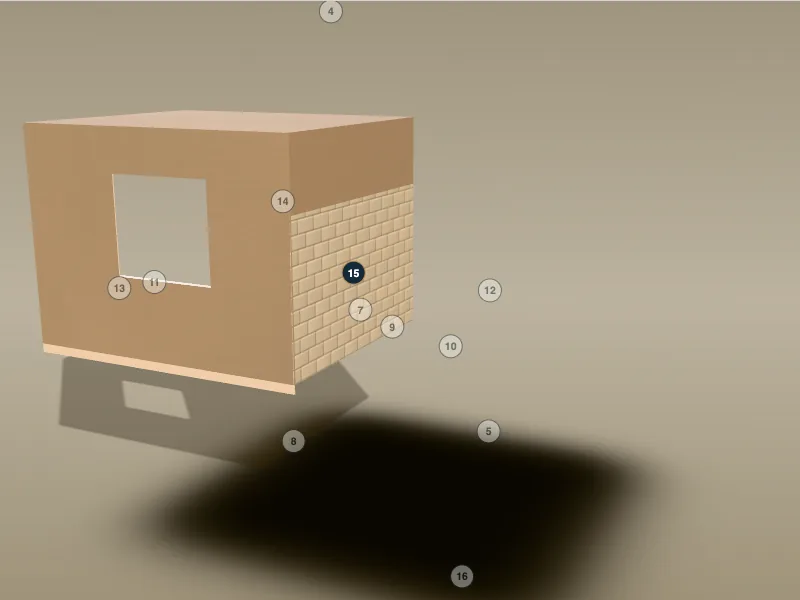
- Paint, tile, trim and caulk are the finish, the part of the wall you see every day.
- It covers the visible surfaces and hides many of the layers you just looked at.
Ask your builder
- Ask for a list of the finish products, and keep it next to your pre-drywall photos.
- Ask what the wall behind the shower tile is made of.
Trade detail
- The layers behind finishes can be harder to inspect or change, and may mean opening the wall.
-
Layer 16 of 16
Concrete slab
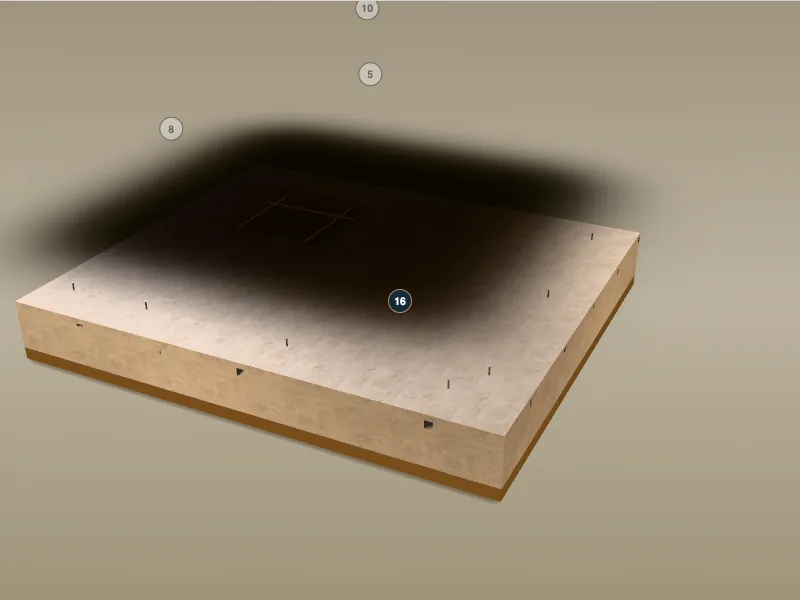
- This model shows a concrete slab poured on the ground, with the wall frame sitting on its edge.
- Slab designs vary from house to house.
Ask your builder
- Ask for the engineer's foundation plan, and for an inspection before the concrete is poured.
Trade detail
- Ask what goes under the slab, and whether the edge of the slab is insulated.
- Ask whether an inspection at the foundation stage is allowed before the concrete is poured.
System H
Hot water supply
From a central manifold to each tap, one pipe per tap, in this model.
- Hot supply pipes carry water from the water heater to the sink and the shower. In this model each tap has its own pipe from a small distribution box, the manifold, in the wall.
- A large part of the wait for hot water is the cold water standing in the pipe, which has to be flushed out before hot water flows from the tap.
Ask your builder
- Ask where the water heater is, how far it sits from the kitchen and the bathrooms, and how long the pipe between them is.
Trade detail
- In a home-run layout, as drawn here, each fixture is fed from a central manifold, so a single fixture can be shut off there; the alternative is trunk-and-branch.
- Ask where the shutoffs are, and for photos of the pipes with a tape measure in the frame before the drywall goes up.
Seconds to hot water at this tap
Bathroom sink: about 3 to 6 seconds for the pipe drawn in this model.
How this is worked out
- The seconds shown are for the pipe drawn in this model, from the manifold to the tap. The water heater is not drawn, so add the pipe between it and this wall with the slider.
- Pipe volume divided by the flow of the tap gives the time it takes to push the cold water out of the pipe.
- Federal rules cap bathroom faucets at 2.2 gallons per minute at 60 psi, and WaterSense labels bathroom sink faucets that do not exceed 1.5.
- WaterSense showerheads flow at 2.0 gallons per minute or less, against the federal standard of 2.5.
- PEX tube sold as 1/2 inch has an outside diameter of 0.625 inch and a minimum wall of 0.070 inch, and the 3/4 inch size is 0.875 inch with a wall of 0.097.
- The flows used are assumptions for the calculation, taken from the WaterSense label and the federal limit, which are maximums. A real tap can flow less, which makes the wait longer.
- The readout multiplies the pipe volume by an allowance for extra water, shown below, before it divides by the flow. The allowance is an assumption of this estimate, not a measurement.
- This is the time to clear the cold water from the pipe. The water also has to warm the pipe, so the wait before the water feels hot can be longer.
- Ask for the pipe length between the water heater and each bathroom and the kitchen, and whether a recirculating line is planned.
System C
Cold water supply
The matching cold pipe to every tap and to the shower valve.
- Cold supply pipes feed the same taps. This model draws one beside each hot pipe, and the shower valve mixes the two.
- The incoming water pipe and the water heater are not drawn in this corner of the house.
Ask your builder
- Ask where the main water shutoff is and what the incoming water pipe is made of.
Trade detail
- Ask whether the hot and cold pipes are insulated where they run through cold spaces.
System D
Drain, waste and vent
Drains fall toward the stack; the vent lets air in.
- Vent piping admits air so wastewater can flow without creating a vacuum.
- Each fixture has a trap that holds water, and that water makes a seal between the home and the sewer.
- Most household drainage is not pumped and relies on gravity, so the slope of the pipe matters.
- In this model the sink and the shower drain into one stack, and the top of that stack rises through the roof as the vent.
Ask your builder
- Ask where the stack and the vent are, and what moving a sink, a shower or a toilet would mean for the drain slope and for a new vent.
Trade detail
- Ask what slope and what vent a relocated fixture would need, and which plumbing code edition your city enforces.
- If a toilet or a drain is to move farther away, ask whether joists have to be cut and reinforced, and whether a slab has to be opened to reach the drain.
System S
Supply ducts
Heated or cooled air, from the air handler to the rooms.
- In this model the air handler pushes heated or cooled air through a trunk duct into two branches that end in registers in the ceiling.
- When conditioned air escapes from supply ducts, the system has to run longer to keep the rooms comfortable.
Ask your builder
- Ask where the air handler and the ducts will run, how the joints are sealed, and whether the leakage is tested.
Trade detail
- Ask what mastic or tape seals the duct joints, and whether it is listed for use on ducts rather than ordinary cloth-backed tape.
- If you plan to move a wall or a range hood, ask whether a duct has to move with it.
System R
Return duct
Room air going back to be heated or cooled again.
- The return duct carries room air back to the air handler to be heated or cooled again. This model shows one return stub.
- A return duct that is poorly sealed in an unconditioned space can draw in air from that space.
Ask your builder
- Ask where air returns from each room, and whether the return ducts are sealed as carefully as the supply ducts.
Trade detail
- Ask whether bedrooms with closed doors have their own return or another way for air to get back.
System E
Electrical circuits
A cable loop from the breaker panel to outlets, switches and lights.
- A branch circuit carries power from a breaker in the panel through cable to outlets, switches and lights. In this model one cable runs past the outlets in the kitchen wall, and another goes from the switch up to the ceiling.
- Ask how many small-appliance circuits serve the kitchen counter, and how the bathroom outlets are fed, under the electrical code edition your city enforces.
Ask your builder
- Ask which breaker feeds which room, whether the panel has space for new circuits, and for photos of the wiring before the walls close.
Trade detail
- Ask how many circuits the kitchen and the bath will have, and whether any new appliance needs a circuit of its own.
Where this comes from
Each card cites the code section, standard or manufacturer table it comes from, or asks a question. Codes and practice differ by city and by builder, so treat it as a list of good questions and ask your builder what applies to your home.
- EPA WaterSense specification for bathroom sink faucets, and the federal flow limit for bathroom faucets
- EPA WaterSense specification for showerheads, and the federal showerhead standard
- ASTM F876, PEX tube dimensions (outside diameter, minimum wall)
- ENERGY STAR Single-Family New Homes National Rater Field Checklist, v3.1 / 3.2 / 3.3 (Rev. 14)
- Texas Residential Code 2021 (IRC 2021 with Texas amendments), chapter 3 Building planning
- Texas Residential Code 2021, chapter 4 Foundations
- Texas Residential Code 2021, chapter 6 Wall construction
- Texas Residential Code 2021, chapter 7 Wall covering
- Texas Residential Code 2021, chapter 8 Roof-ceiling construction
- Texas Residential Code 2021, chapter 9 Roof assemblies
- Manufacturer's product information table, H2.5A hurricane tie
